Backyard Garden: Irrigation Phase 1
At about the time I had the trees, berries and grapes planted, I did a bunch of reading to figure out how much I should water everything. I came up with the following document as a guide: Water Schedule.pdf.
Although very helpful, it got really old having to water all 4 plants separately using one soaker hose. So, next up was installing sprinklers. I knew I wanted to go with a drip system since they are the most efficient use of water and also good for achieving a deep soak which is best for root development. My dad had just installed a new drip sprinkler system and had used Home Depot’s drip kits and it looked like an easy to use system. I did a bit of comparing and decided I preferred Lowe’s competing kit, but the differences between the two are pretty minimal.
Thankfully, our house already had a sprinkler system installed in the front and they ran the pipe around the back along with extra wires for adding zones. This project would have been several times more challenging if this hadn’t been done, so I was really thankful.
I was also thankful that our sprinkler system has a master valve which shuts off pressure to the entire system when no sprinklers are being run. Although this shouldn’t be necessary, it’s a nice feature if there are any leaks in the system or if the pipes are shallow and we have a hard freeze.
Since I knew this, I decided not to worry about burying the pipe too deeply. I also opted for a flexible pipe scheme instead of regular PVC, which would be more maneuverable and further reduce the amount of effort I’d have to put into this project.
That’s not to say it wasn’t a lot of work. First I had to dig a big hole to bury the valve cover which would go over the new valves I’d be adding. Although I planned to put the berries and trees on the same circuit, I decided to add a second valve for future expansion.
With the hole dug, I then had to tap into the existing main water line. For this, I did use PVC since that’s what was already used. This was pretty challenging, as I couldn’t simply fit a piece of pipe straight in line since the existing pipe couldn’t be moved back to slide onto the fittings. So I initially tried just making a U-shaped pipe with two elbows on either end and bend the pipes onto the old ones. I cut out a section of the old pipe, waited for all the water in the system to drain out and soak into the ground, cleaned the old pipe ends, blobbed PVC glue into the elbows of my U-shaped fitting with the valves already part of it, and fit it on. I tried to bend the tops of the U onto the old pipe and it sort of held, but I knew there wasn’t much overlap inside the fittings and that it might not last.
I went to the front yard and turned the override switch on the main valve to pressurize the line. I ran to the backyard and as I approached the hole I could hear a faint spraying sound. A split second before I put my head over to see if it was leaking, a geyser of water exploded in front of me. I skidded to a stop and ran back to turn off the water pressure. The hole was almost full of water and I had to let it dry off again before doing anything more.
The next day I tried plan B which involved a more complicated pipe shape but one which I could slide on without having to man-handle or bend anything. But to get everything to fit into my hole and reuse as much as possible of the U-shaped piece I’d already made, I had to reshape a section of the pipe. I didn’t have a heat gun, so I used a candle and slowly softened the PVC that I needed to bend. Eventually, I got it into the shape I needed and fit the whole thing onto the old line:
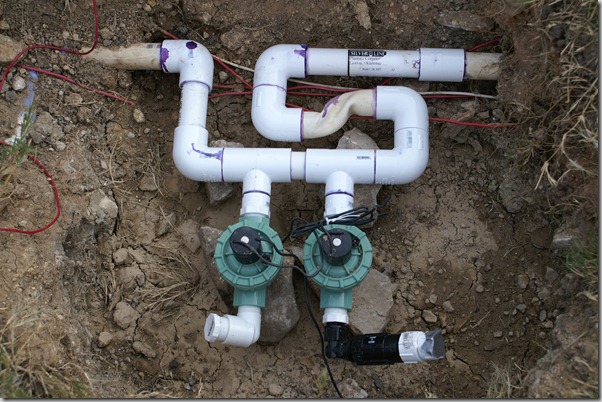
The black L-shaped attachment at the bottom is a 20 PSI pressure limiter to prevent blowouts in a drip sprinkler system.
With that finally finished, I needed to install the valve cover box and hook up the wiring and test it out to make sure the sprinkler controller box was able to turn everything on as expected.
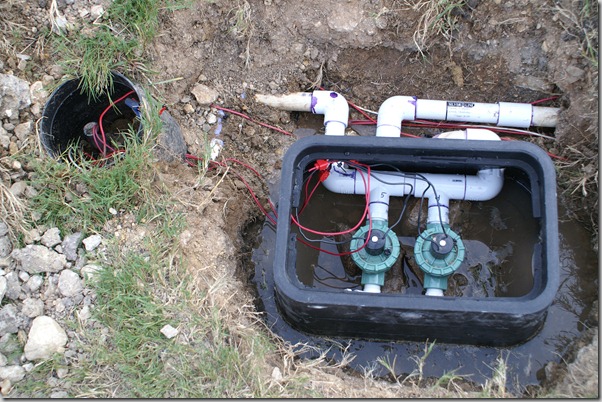
This went smoothly for the most part. Initially I assumed the unused lines were already hooked up at the sprinkler box, so I tried turning on the various unused zones and nothing happened. After filling my dad in on the adventure, he mentioned that the original installer might not have hooked up the wires at the sprinkler box, and sure enough, once I detached the sprinkler controller from the wall, there were a bunch of loose wires. From here, it was a simple matter of grounding each red wire one at a time at the sprinkler box end and using a multimeter at the valve end to find the grounded wire each time. Once I knew which wire was which, I connected them at each end and tried starting the zones. Sure enough, water sprayed out and everything looked to be good.
From here on out it was mainly just a lot of digging in the heat (this was May, 2011) but eventually I got everything buried and the drip sprinkler heads installed. I used 1gph (gallon per hour) drippers almost everywhere, except for a couple of the tree sprinklers which instead had adjustable drippers so I could adjust the water as they mature.
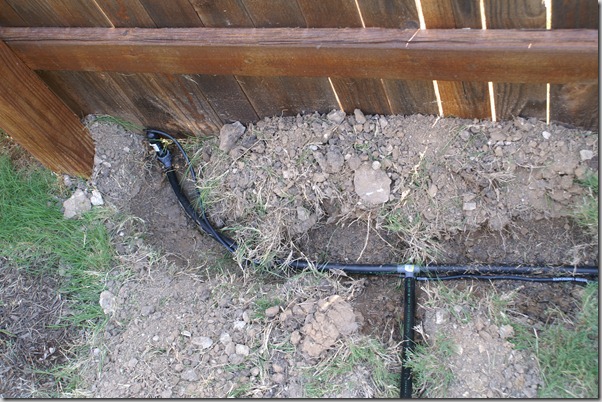
The thick pipe is the main line, but here I had a small hose going back underground from the blackberry to the dewberry so I could use the same riser for both.
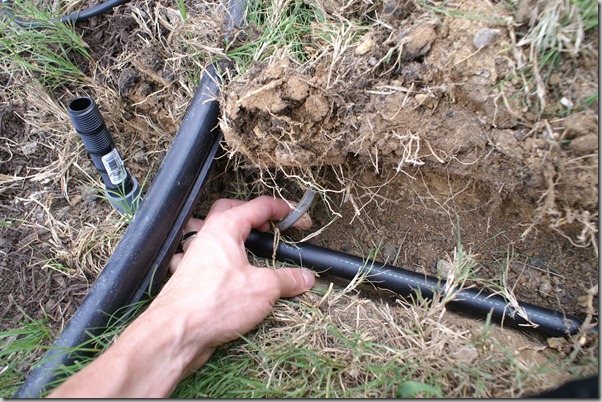
Ran into a wire of some kind near the peach tree…not sure what it’s for!
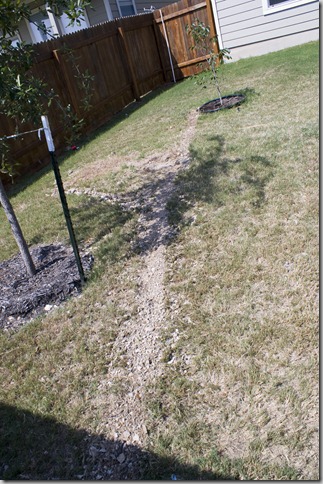 Buried line from the grapes (close end) to the persimmon, past the valve box.
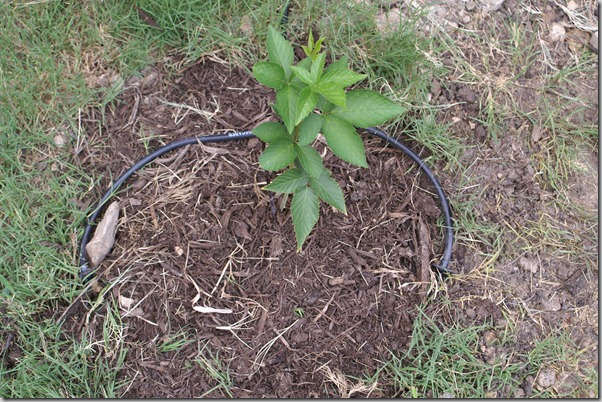
2 1gph drippers for each blackberry plant
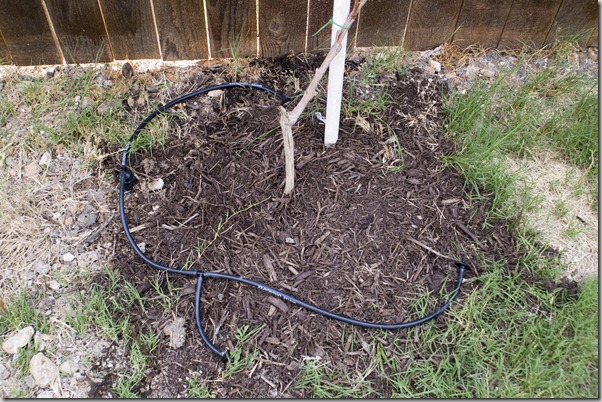
3 1gph drippers for the grapes.
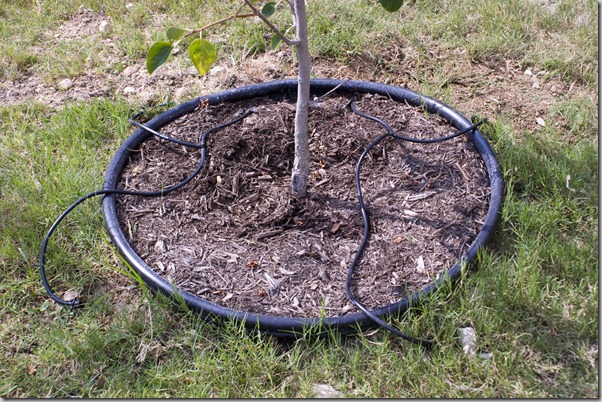
2 1gph drippers plus 2 adjustable drippers for the persimmon (adjustable ones currently at about 2gph).
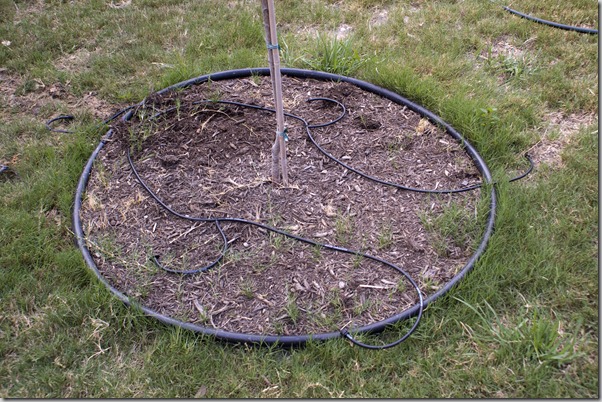
2 1gph drippers plus 3 adjustable drippers for the peach (adjustable ones currently at about 3gph).
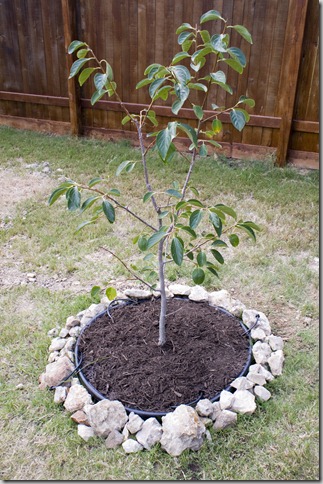
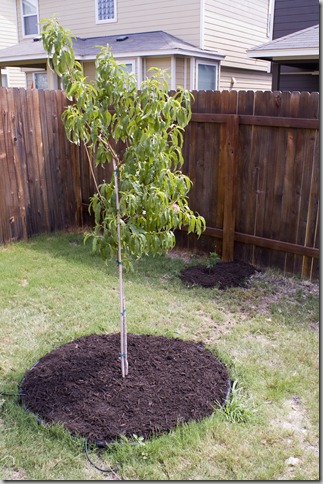
After all the sprinklers were finished, I put down a fresh layer of mulch around all the plants and on top of the sprinklers to protect the hoses from the sun and to help retain more moisture. I also decided to use all the limestone rocks I’d dug up when planting the fruit plants and sprinklers to make a decorative border around the persimmon. Turned out quite attractive, I’d say!
For a schedule, I currently have it set as follows:
- March-April, October-November: 1 hour, once a week.
- May-June, September: 1 hour, twice a week.
- July-Aug: 1.5 hours, twice a week.

Comments